Monday, July 30, 2012

I Love "Monday Made-It" Day! ~ Lots to Share and a Freebie!

I am linking up with Tara at 4th Grade Frolics for Monday Made-It.  I will be so sad when its finished:(
Monday Made-It: #1 ~ Chair Pouch
The trickiest thing each week is trying to narrow down what to make!  Everybody's "made-its" look so fabulous that I just want to make them all!  After reading Ladybugs Teacher Files idea for cheap chair pockets I knew that was an absolute must have!  Now I am in Canada and I have figured out that I pay about double those in the US do.  I think you guys are paying about 77 cents for the nail aprons at Home Depot ~ I paid $1.49.  Still within the budget since the alternates are much more costly.  I have read several posts about how some people are trying to cover the beautiful ugly orange logo.
The seam on my pouch is between the "guy" and the logo which means if I covered each logo separately it looked crooked!  I am way too OCD to let it look like that!  So I created a larger label that covers everything equally.  Now before I show you the picture I want to let you know that it looks big, however, it covers the entire logo and it balances the apron.  I used velcro dots to adhere it to the apron after laminating the label.  I do not use a number system in my class so I am going to make name labels and use velcro to attach them to the main label {in the white space}.  Each year I will only have to change the name labels.  Also, with the label being a little larger {and laminated} it makes the pouch a lot more sturdy.  I LOVE how they turned out!


FREEBIE TIME! {But please finish looking at my creations!}
So if you like how my chair pockets turned out you can get your free copy HERE.
I have also included a blank sheet of labels for your students names.
For those of you that do a number system I have made a set for you, too!  I couldn't forget you!
I made the set up to 31.
I used MelonHeadz graphics for this ~ the graphics come from her Daily 5 bundle and her Monthly Bookmarks bundle.  She is soooo talented!

CHAIR POUCH LABELS ~ CLICK HERE.
Monday Made-It: #2 ~ Story Stones
The next thing I made were "Story Stones."  After reading Tara's post about them I NEEDED these stones!  I am in love with MelonHeadz graphics!  Her graphics have so much personality that I knew they would be perfect for this idea! 


I printed off the graphics and then I cut them out leaving just a tiny but of white around the edge so they were easy to cut out.  I used Mod Podge to glue the graphics down to the rocks and then did 3 coats of Mod Podge to make sure they were good and durable.  I bought 2 bags of rocks at Michaels but you could always find your own.  I finished them off with a quick spray of Acrylic Sealer to get rid of the tacky feeling Mod Podge leaves behind.  I am going to have the kids pick a stone and then write a story using the picture on the stone as a springboard.  I have created a writing pack to go with the stones.  There are a total of 32 story stones.  In the pack I have included instructions for making the rocks, there are 32 graphics for you to print, I also put the graphics on cards if you like the idea but don't have time to make the stones, and there are 32 writing pages that match the graphics on the stones.  If you would like my "Story Stones ~ A Creative Writing Pack" then click HERE to pop over to my TpT store.  The kids are going to LOVE this!


Monday Made-It: #3 ~ Crate Seats
After seeing everyone's crate seats I had to jump on the bandwagon and make a set for my class!  I just love them and they really were easy to make!  I was so excited when I found purple crates at Staples for $3.98 ~ I hadn't seen them for under $8.00 so this was a bargain!  Home Depot was going to charge me $1.00 per cut to cut the plywood but I went early Saturday evening and he said he would do it for free because it was quiet - thank you!  Directions are everywhere so I won't bore you with how I made them.  I used the instructions from Ginger Snap because they were super easy to follow.  Believe it or not finding the material to cover the seats was the hardest part.  I couldn't find anything!  Finally, I struck gold at Walmart!  They sell fabric pieces already cut and they were the exact size I needed.  Now the pictures make the crates look blue but trust me they are a beautiful bright purple and the fabric is like a tie-dyed look with turquoise splatters all over it.  It's gorgeous!
The pictures don't do them justice!


Monday Made-It: #4 ~ Teacher Door Sign
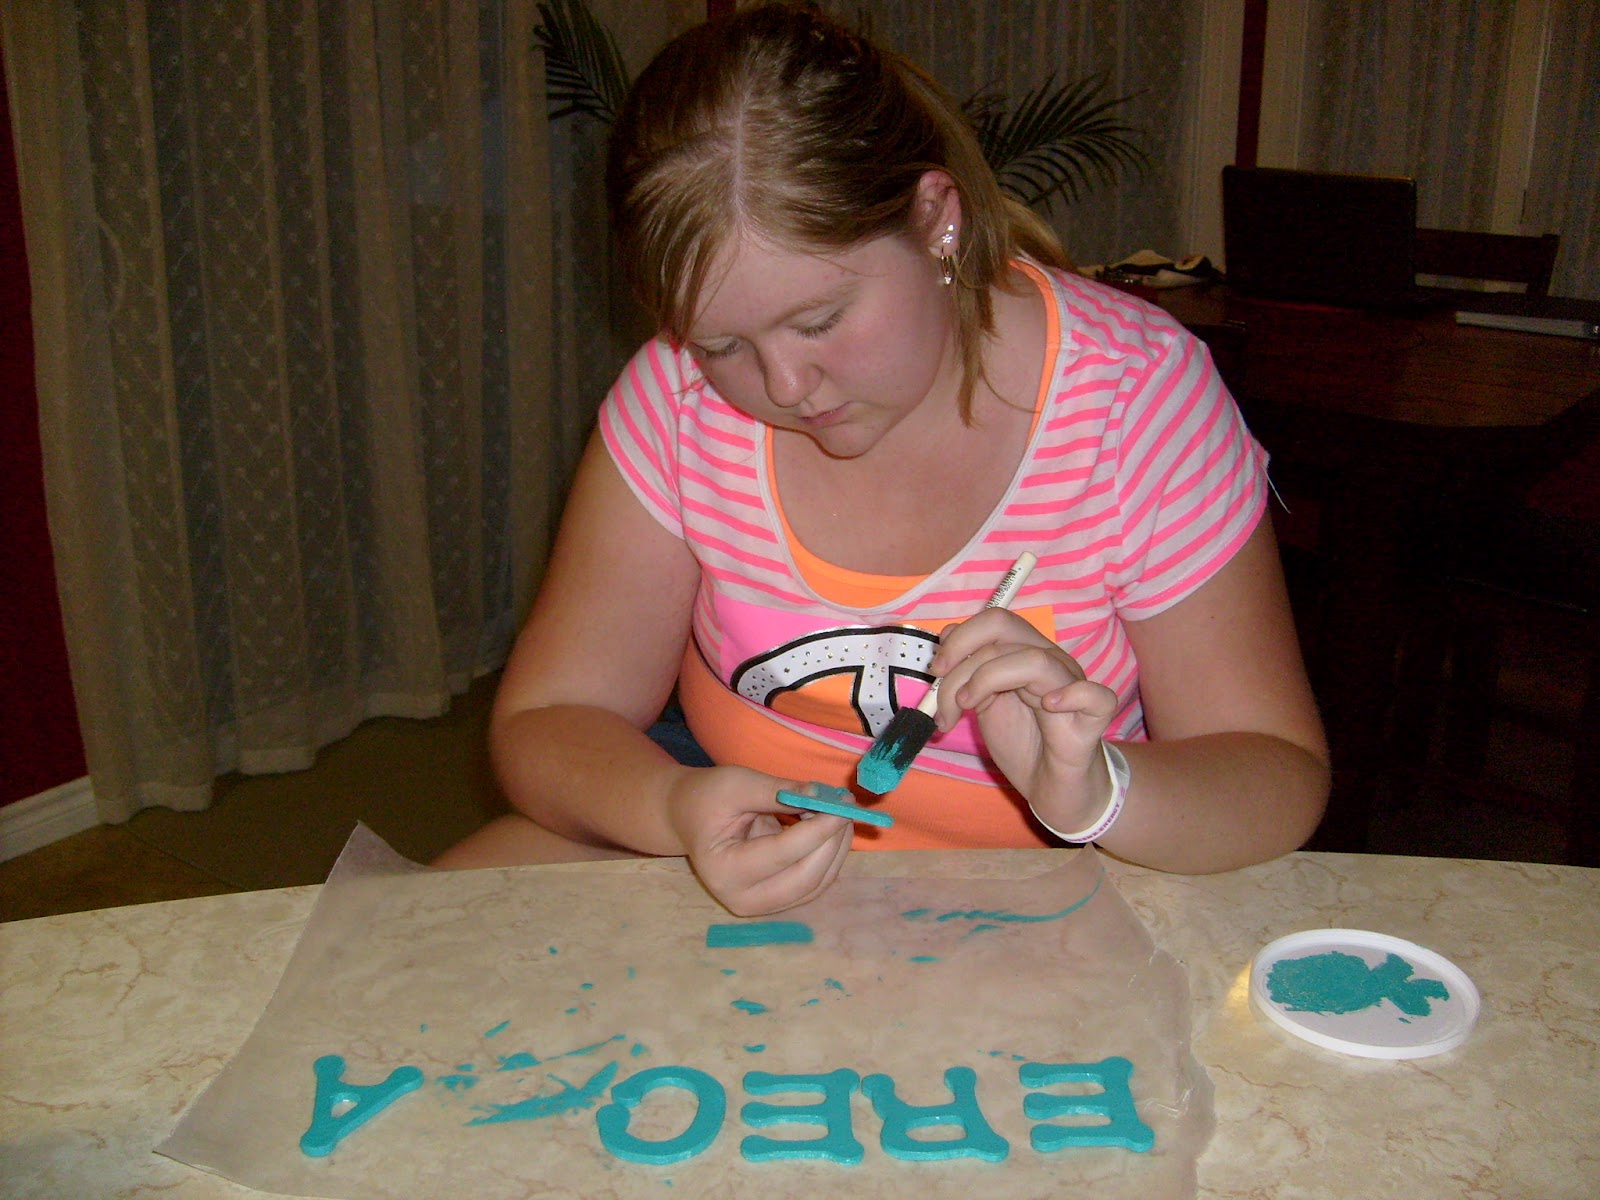
I made this sign to go on my door.  It was super cheap to make and took no time at all!  I bought the board at Dollar Giant, I printed my personalized MelonHeadz graphic, another graphics from MelonHeadz Monthly Bookmarks bundle, used scrapbook paper that I already had, wooden letters from Michaels (that my daughter painted), and then handy dandy Mod Podge.  I bought a magnetic sheet from the dollar store that I am going to put on the back of it so I can hang on my classroom door.  I was really pleased with how it turned out!


I can't tell you how much it means to me that you stopped by!  I am brand new to blogging and would really love it if you left me a little note ~ it gets lonely when you're new:)
I am off to see everyone else's awesomeness!

Bye for now!
Natalie

Saturday, July 28, 2012

"Daily Sight Words" Unit and a Freebie!

I have finally finished my "Daily Sight Words" Unit!  It took me 3 weeks to put together and ended up being 176 pages!  This baby is HUGE!   It consists of 22 weeks of fully illustrated sight word sentences for a total of 110 words. Each page is a pattern sentence that focuses on a certain sight word. When students are learning these crucial words it is important that they are given the opportunity to practice spelling them and using them in context. While you can introduce the words in whatever order you wish ~ I should state that the sentences gradually get more complex and each page builds on vocabulary learned on previous pages.

Initially the sentences are quite simple, however, by January the sentences are more detailed. You will be delighted with your students progress using this unit!

I have included:
*a description of how I use this resource
*a colourful list for each week that can be displayed in your classroom
*smaller lists that can be put on a ring for individual use
*a sight word booklet to track word mastery
*110 pages of sight word pages
*booklet cover pages

I put the sight word sheets either into a duotang or I staple them together to make a booklet. That being said, there are too many pages to be held together all at once so I have divided the words into 3 sections.

Children really do not like it when part of their page is cut-off and they can not read it. To avoid that I have indented the left hand margin slightly so that the children can easily read their work.

Once you are done with the booklets at school they become a wonderful home resource for parents to use to review these words.

The corresponding word wall is available in my Groovy Theme Classroom Set or individually if you only want the word wall ~ Groovy Word Wall.

I love that I now have this portion of my word wall unit planned and ready to go until the end of February!  
Here's some pictures and then I promise you will get your freebie:)

Okay you've been very patient:)  Your freebie today is a copy of the first week of the unit.  I have included a copy of the words to display on the board and then 5 sight word sheets.  If you download it and like what you see please leave me a little note.  It gets lonely when you're just starting:)

Click HERE to get your free copy!


Bye for now!
Natalie

Friday, July 27, 2012

The Real Meaning of "Summer"

Like most teachers, I LOVE the summer!  While there are a zillion reasons that summer vacation rocks my most favourite reason is that I get to reconnect with my daughter.  It's 2 months with no distractions and lots of laughs!  Julia turned 12 at the beginning of July and she is my very favourite person in the world!  


In order to stay "cool" in her eyes I am always up for being silly and goofy!  She usually laughs because she can't believe what a dork I am ~ but I'll take it however I can get it:)

This week we pretended that we had our own reality show and came up with some goofy things we could do!  The first thing we did was every time Julia was going to text someone I would give her a random word and she would have to use that word in her message.  We thought we were pretty hilarious!  Her first was "rippling", second was "squiggled"...lol...you get the idea! 
We looked to the internet for our next inspiration.  Like many girls her age, Julia loves the band "One Direction" {we saw them in concert! - insert a million screaming girls! - I felt old:(}.  Each member of the band posted a challenge...Julia chose one and that meant we haven't been able to use spoons {for anything!} since Monday!  I made homemade carrot soup and after trying to eat it with a fork Julia gave up and finally used a straw - yum!  


And our final stunt for the week was that on Thursday night we pulled an all nighter no nighter!  We were going to swim in the middle of the night but it was raining - boo.  So we had a chocolate fondue at 4:00 and then watched "Dance Moms" until 6:00 am when it was declared morning and we could finally head off to bed! 


What I've realized is that these are the things she is going to remember so I better make the most of it!  Children of teachers often regularly have to compromise and "understand" during a school year.  During report cards, Christmas concerts, Sundays planning...the list goes on and on.  People forget this when in July they say "Oh, it must be nice to have summers off."  I love teaching but I see July and August as a time to fill up my mommy bank because I know there will be lots of withdrawls from September to June!
Enjoy your summer, love your children, relax... you've deserved every second of it!
Bye for now,
Natalie

Thursday, July 26, 2012

Attempting To Use Google Doc. For A Freebie

Well hello to you!
Since I don't have very many followers right now I figured it's a good time to try and figure out some the "tricks" of blogging.  Now I love a good freebie ~ what teacher doesn't!  I have spent most of the day trying to figure out how to  add a google doc to my blog so I can give away freebies, too!

On Monday I posted a picture of a mini clipboard that I had decorated and was going to use for yard duty.  I made a form that I am going to use during recess and if you would like a copy please snag it HERE.
I am so excited for next Monday's Made-It!  Does anyone know how many more weeks there are?  I think Tara at 4th Grade Frolics goes back on August 1.  Yikes!

Enjoy the sunshine everyone!
Bye for now!
Natalie

Monday, July 23, 2012

Tons of Monday Made-Its!! And A Mod Podge Helpful Hint!

I could hardly wait for Monday so I could hook up with Tara over at 4th Grade Frolics for Monday Made-Its!!!  So much deliciousness!!  Before I get started I just want you to know that I didn't get out for vacation until June 29 and I have only been blogging for one week!  Needless-to-say I had a lot of catching up to do!  I've got a few things to share with you but lots of pictures so it will be quick ~ promise!
#1 ~ The amazing "Create" board that I saw at Clutter-Free Classroom.  As soon as I saw this I knew I HAD to make one!
Now as beautiful as it is ~ I have to tell you ahead of time that it took me two tries to get it right!
So first I hit Michael's to get everything I needed.


Then you need to sort the crayons into the colours of the rainbow and lay them across the top of your board with the tips facing down.  Use a hot glue gun to glue the crayons on to the board.


The tricky part is heating the crayons. Use your hairdryer to heat the crayons so that they will start to drip. This is very messy as the pressure from the hairdryer causes the crayon to spray. You need to move pretty quickly once the crayons start to melt. You will find that the blues and purples melt really well but the reds were more difficult to work with.


The only letters I could get at Michael's were white glitter but I didn't think they would show up on the white board.  I scraped the sparkles off and then my wonderful daughter, Julia, painted them a beautiful turquoise colour.


Once everything had a chance to dry I used at hot glue gun to glue the letters on to the board.
PRESTO! 


I am going to hang this sign in the middle of one of my black boards and then I am going to use these cute clips to hang the kids artwork on the board around the sign.  I made the clips with regular clothespins from the dollar store.  I painted them turquoise, glued the flowers on the front of the clip and then finished them off with gluing 2 magnets to the back of the clip.  I got the flowers at Micheal's.  They came in a set of 4 for $1.69.  I think it's going to look really colourful!


#2 ~ READ sign for my classroom.
This will be quick because I only have a picture of the "after" picture.  There are all over Pinterest so there is tons of inspiration out there!


I used scrapbook paper that I bought at Walmart.  It was a huge paper pack that had a ton of co-ordinating papers for only $15.00.  I bought the white letters at Michael's.  I used the ever famous Mod Podge to attach the paper to the letters.  The trick with Mod Podge is that you need to coat the letters with a layer of the glue and then put the paper on the letter.  Let it dry before you put coats of Mod Podge on top of the paper.  Once the top coat of Mod Podge is almost dry you can push down any bubbles that formed.  I glued my ribbon down first and Mod Podged right over it, too.

MOD PODGE MUST DO!!!
Now I could be the only Mod Podge user that didn't know this trick but I had never read it anywhere {actually it's written on the bottle ~ but who reads the directions?!} so I am going to share it with you.  Regardless of how many coats of Mod Podge you put on and no matter how long you let it dry it stays tacky.  This is VERY frustrating because everything sticks together and your craft will be ruined.  Yikes!  Buy a can of Acrylic Sealer and spray your craft all over.  PRESTO ~ your craft is safe now!  Tust me it's worth doing.


#3 ~ Teacher Clipboards

I love MelonHeadz graphics and I use Nikki's graphics on everything I make.  She is SUPER talented and her graphics have personality galore!  They make me smile:)  Make sure you visit her HERE!!!

The first clipboard is a "mini" clipboard that I got at the Dollar Tree for $1.00.  I decorated the front and back the same way I did the letters (above).  I am going to use this one for yard duty.  I used MelonHeadz "Playground Pals" bundle and her "Monthly Book-Mark" bundle.

This is the front.

And this is the back:)

This is the second clipboard I made.  It is a regular sized clipboard and I used scrapbook paper and graphics from MelonHeadz ~ of course!
Here's the front.
And here's the back!

I promise I'm almost done!
I just wanted to take a minute to let you in on a little an AMAZING secret!!  Did you notice the graphic of the cutie-patootie standing on books?  It's me!  I won a draw at MelonHeadz!  I sent her a photo and she drew me!  YIPEE!!  I love it!  She made me look way better than I do in real-life!  Nice!  The best part is that you can get one, too!  You can order one from Nikki at MelonHeadz.  Isn't that awesome!  A personalized graphic of you!  There is nothing better so leave here and head right over to MelonHeadz and order yourself one!  Go girl go!!
Thank you so much for stopping by and having a look at my creations!  I'm off to see what everyone else made this week:)  Thanks for sharing!

Bye for now,
Natalie